 |
|
Fig. 1:
Cables using the LINE OUT as reference |
The following scheme is the one I use for acoustic measures:
|
|
|
Fig. 1:
Cables using the LINE OUT as reference |
The signal exits from the left channel of the audio card, Line OUT, and arrives to its left input, Line In Left, as well as to the input of the amplifier, through an Y cable (remember that SW uses the left channel as reference). The output of the amplifier is connected to the loudspeaker; the microphone picks up the signal emitted from the loudspeaker and sends it to the input of the mic pre where is preamplified; the output of the pre, finally, is connected to the right input of the audio card, Line In Right (Speaker Workshop uses the right channel as Data). The good thing of this configuration is that the the card input is only preamplified, therefore the risk to burn it is low, and the sound card response is compensated; the bad thing is that this configuration doesn't compensate the amplifier response, and some not flat phase in the high frequency region could occur. Assuming that we will use an HI-FI ampli, whose response is flat from the 20 to the 20,000 Hz (otherwise it would not be Hi-Fi), that has a near-zero output impedance (that could be a concern since output impedance on the amp translates into frequency nonlinearity with a real not resistive load) and that we use large speaker wire so that the speaker wire impedance introduces no issues, I think this configuration is a good trade off. If you like, you could compensate the ampli response, if you use the said connection; to measure it connect Line Out to the ampli input and its output to the sound card Line In left and right; then adjust the ampli volume in order to obtain, using an MLS signal, approximately 20k in the VuMeter of SW; then click on OPTION/ CALIBRATION/ TEST in the Amplifier Response Measure and follow the wizard; in the end the amplifier response file will appear automatically. To see the response open the "Measurement.Impulse" file in the System folder, then click on CALCULATE/ FREQUENCY RESPONSE, choose a Uniform Windowing, click on OK and new file will be created: "Measurement.Impulso.Frequency", double click in order to open it and to see the amplifier frequency response. Be careful working with the ampli because, even with the voltage divider, the risk of burning the sound card is always present. Also keep in mind that what you just measured is the sum of the sound card+ampli response!
Another procedure of connection exists, in which the Line In Left is connected to the output of the amplifier instead of the Line Out, but a voltage divider has to be used: you can use a 1k and 100 Ω resistors, to get a 1:10 voltage reduction:
|
|
|
Fig. 2: Cables using the ampli as reference and a voltage divider |
The advantage of this configuration is that it allows to compensate both the sound card and the ampli frequency response during the measurement.
Another indispensable member for the acoustic measures is the microphone. It must be the omni-directional condenser type; the choice is between the economic Panasonic WM61A and the very good Behringer ECM8000, than costs around € 50. Since the microphone introduces something of its own in the measurement, it is indispensable to supply Speaker Workshop with the mic calibration file: first import the file through RESOURCE/ IMPORT, then tell SW to use this calibration file by clicking on OPTION/ CALIBRATION/ MICROPHONE RESPONSE, and write the location of the imported file. In the download area you find the cal files of the Panasonic and the Behringer; of course they are generic calibrations, and the ideal would be to have your own microphone calibrated, but this depends on the budget of expense and precision needed. Audiomatica offers calibrated microphones, as well as the german IBF.
The last necessary hardware is the microphone preamplifier; the options are many and depend also from the chosen mic. In the case of the Behringer ECM8000, it needs a pre with balanced input and phantom power, and my suggestion is another product from the German brand: the UB802 mixer (approximately € 50). It's true that this model has much more channels than we need need, and it is also true that it has the tone controls that could alter the measurement, but it is the only model that has balanced input and phantom power at a bargain price; about the tone controls, I have verified with RMAA the frequency response of the UB802 with the controls set to zero, and the result has been a flat curve with very low noise. Be sure to use a good preamplifier, since it will work with low signals!
The sound card doesn't need to have a perfectly flat response, since SW will take care of it; it's useful to have a 96k Hz S/R.
The volumes setup depend on the components used, speaker sensibility, mic gain; these are the basic rules to take into account: always try to keep the left and right values equal (the ones you read in the Speaker Workshop VuMeter); the value should be in the 20-25k range and always lower than the clipping level of your sound card; turn the volumes down after the measurement, especially when going from far to close fields. I am used to play a SineWave signal (you do remember how to do it, right?) and regulate the software volume to read 0.7 Vrms on the multimeter connected to the ampli input; then with the multimeter connected to the ampli output (and a 8 ohm resistor connected to the ampli) I play with the amplifier volume till I get 2.83 Vrms. The volt value is subjective cause depends on mic gain, driver efficiency; however just be sure not to overpass it too much for two reasons: the first is that the one volt you are sending to the ampli input, reaches the sound card left LINE IN too, so if it is too high it can make the card clipping or even burn it (cables like in fig. 1); the second reason is that the one volt at the amplifier output goes first to the woofer (and it is not a problem) and secondly goes to the tweeter still unprotected by any crossover network! Be careful.
However remember that Speaker Workshop doesn't measure absolute SPL, thus the frequency response amplitude scale is not the real SPL: if you have a SPL meter, you can measure it and scale the chart (TRANSFORM/ SCALE) to get the right amplitude value. If you have a calibrated mic and you know your pre-mic gain, you can calculate the SPL as Valerio Russo showed:
SPL = 94 + GRAF – GAIN + 20 * Log (Vref / SENS)
where GRAF is the dB value that you read in the SW response chart; GAIN is the pre-mic gain in dB; Vref is the Vrms you have in the reference channel (left Line In) in millivolts; SENS is the mic sensibility measured in mV/PA; Log is the base 10 logarithmic calculation.
For example, let's assume we have a calibrated mic that has a sensibility of 16mV/Pa, a premic gain of 24dB and a measured 1Vrms on reference channel; measuring a woofer shows a chart with 4dB at 1k Hz. Using the formula will give:
SPL = 94 + 4 – 24 + 20 * Log (1000/16) = 109.9 dB @1k Hz
Therefore, we will have to scale all the curve of 109.9 – 4dB = 105.9dB a 1k Hz.
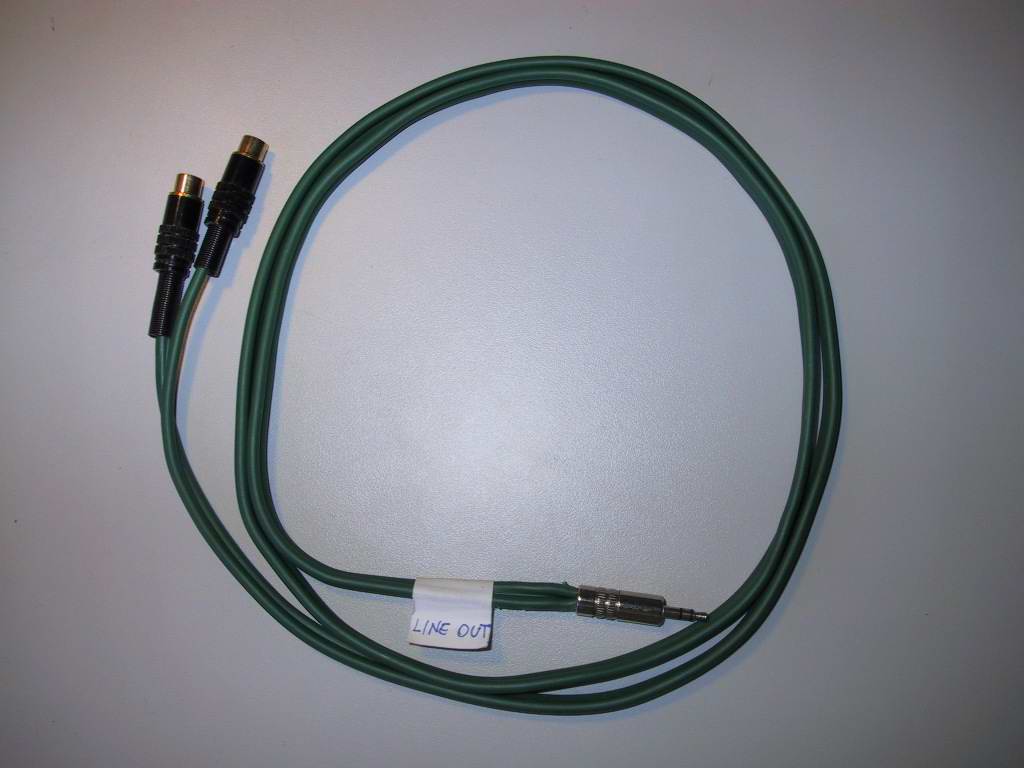
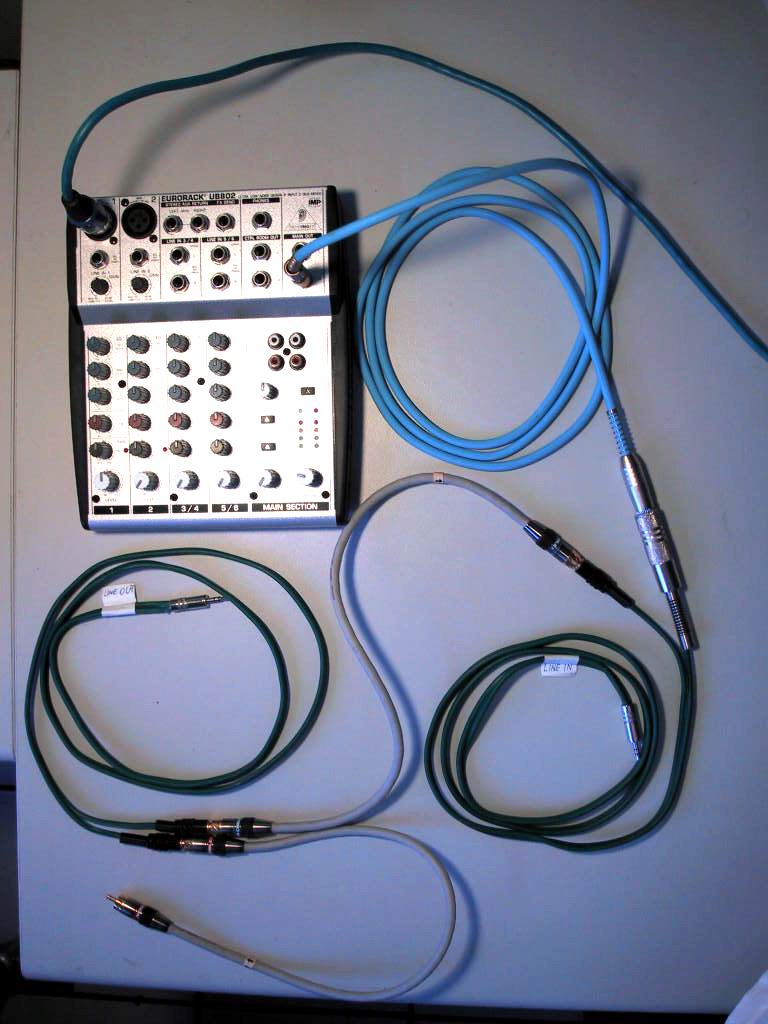
Here is some pictures of my components:
|
|
|
This is the Y cable used to connect the LINE OUT to both the LEFT LINE IN and the Ampli Input |
|
|
Well, now we are ready for the near field measurement.